 The DIN Rail Temperature/Process Controller, Series SCD, offers multiple PID loops in a compact size. Each SCD-1000 master controller can be combined with up to seven SCD-2000 slave controllers without any wires. Each controller has one universal input, one relay output, and one user selected output.
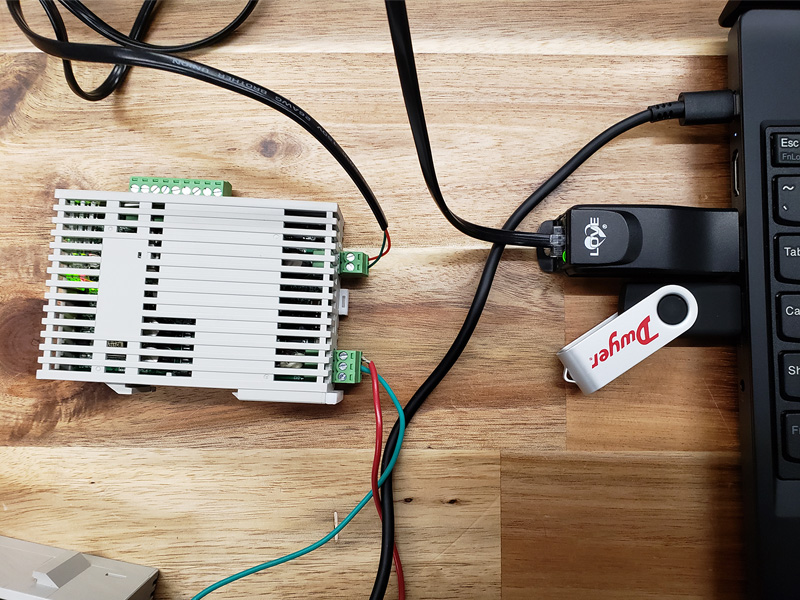
The Series SCD can be used with a Mini-Node™ Signal Converter for applications such as: oven, boiler, or chiller control; packaging equipment; environmental chambers; medical equipment; or food service equipment. The Mini-Node™ converter, Model MN-1, is a low cost device that converts half duplex RS-485 serial communications signals into a signal that can be read by any computer with a USB port.
Wiring up the MN-1 to an SCD controller can be accomplished in just a few steps, and the set up software is simple to use.
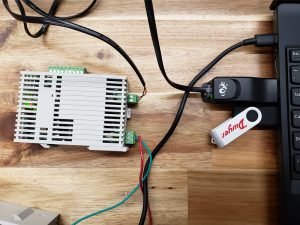
First, connect the red and black wires from the MN-1 to the RS485 communication ports on the SCD controller. Next, connect the power supply (SCD-PS) to the line power input terminals of the controller. Finally, put the MN-1 into a USB port on your computer to begin set up.
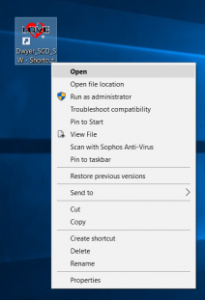 The set up software can be downloaded for free from the Dwyer website. Open the “Dwyer_SCD_SW.exe” program. Once the program is open, you will want to proceed to the “Protocol” menu in the top navigation bar.
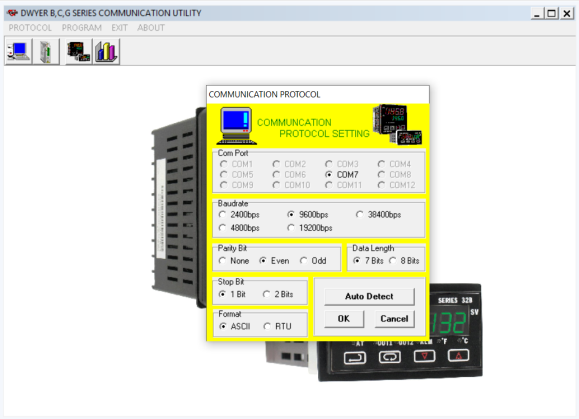
Inside of this menu, you will be able to select your COM port, baud rate, parity bit, data length, stop bit, and preferred format. If you desire for the programming to select these preferences automatically, click “Auto Detect” instead of making individual selections.
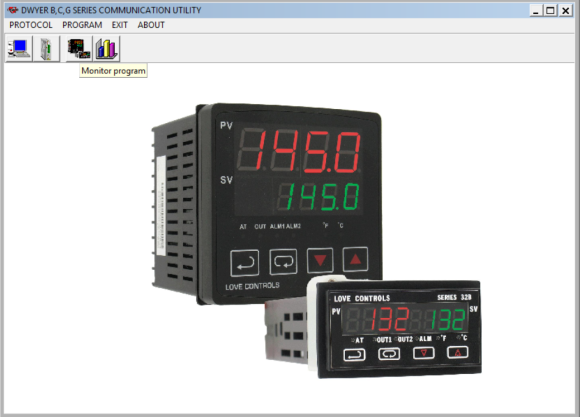
Click “OK” to be directed back to the main screen once all selections are correct. Next, open the “Monitor program” that is on the second row of the top navigation bar. This will be the third button, and has an icon displaying two temperature/process controllers.
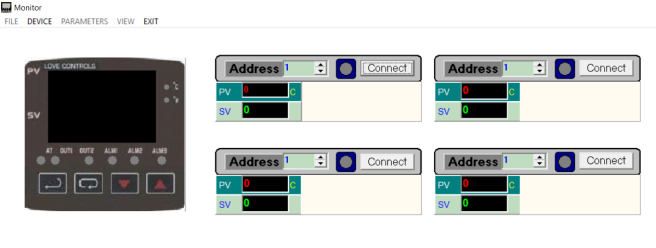
Select the address of your device from the menu seen below, and click “Connect” to bring up the programming options for the SCD.
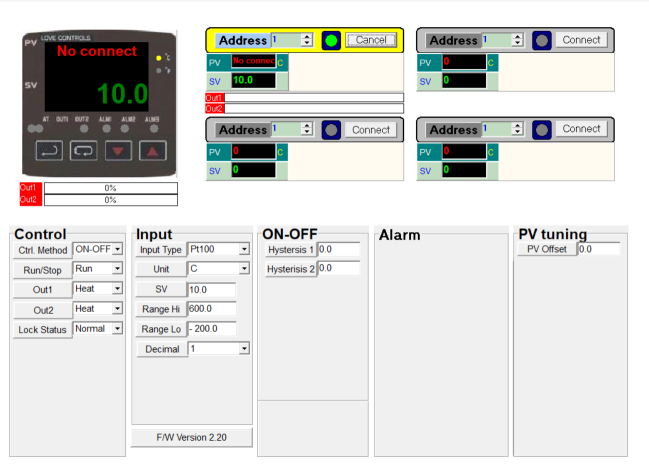
You will now be able to change all of the programming within a simple menu. Hit the “Enter” key on your keyboard after every change to make sure your changes will be saved.
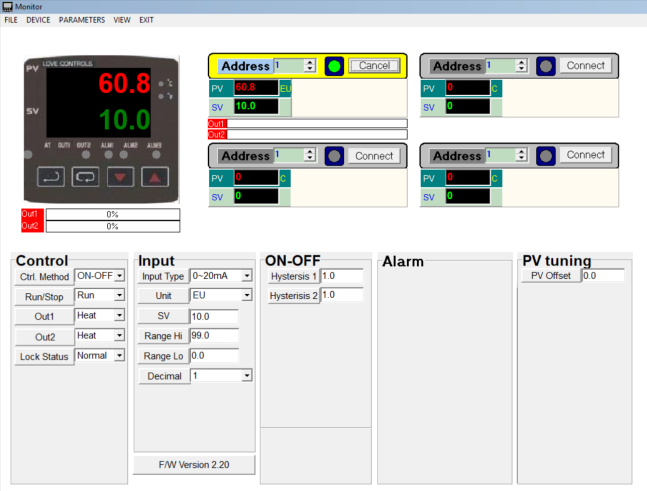
As long as every parameter is set up properly, you will be able to accurately monitor your process value via the graphic in the top left of the program window. Press “EXIT” in the top navigation bar to return to the main screen.

From this main menu, open the “Recorder program” in the second row of the top navigation bar. The recorder program will be the fourth button, and uses an icon which shows geometric shapes aligned in a bar graph configuration.
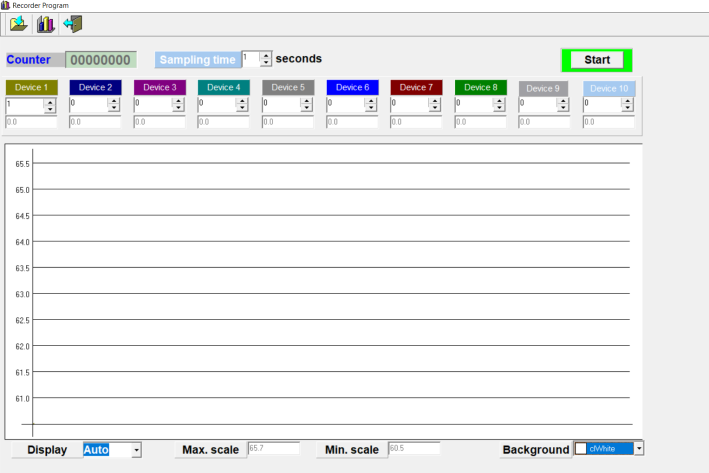
The recorder program allows you to change the sample time, display range, background color, and what devices are recorded.
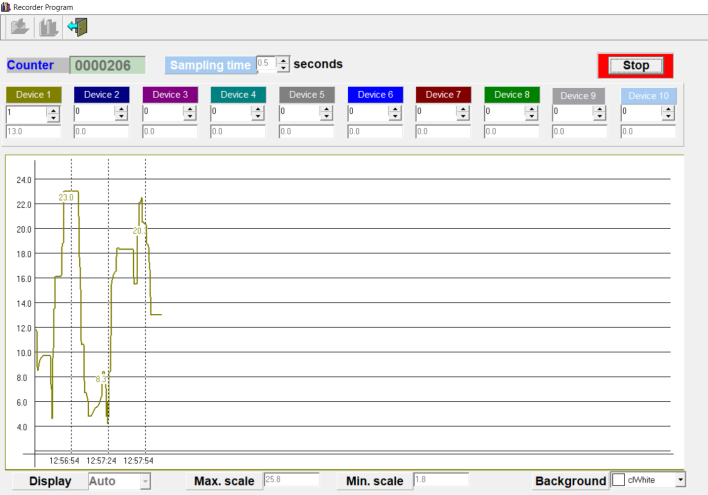
Once the recorder settings are set, press the “Start” button to begin the recording. This recording process will run until you hit “Stop”.
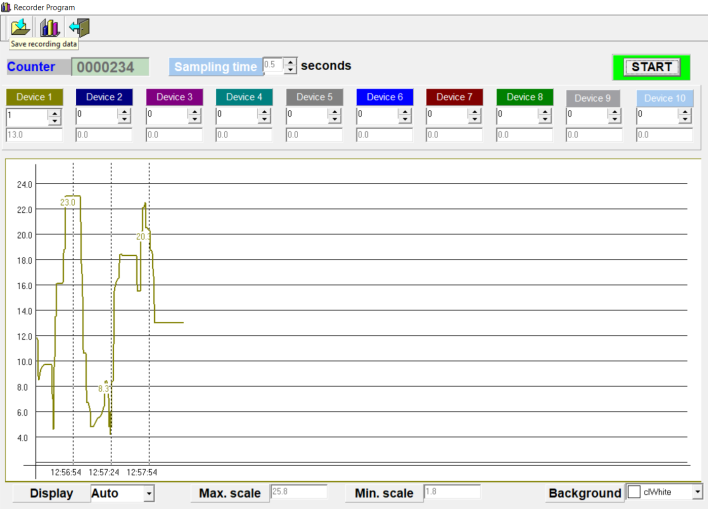
To save your data, click the first icon in the top navigation bar, which shows a folder icon with an arrow pointing to the inside of the folder.
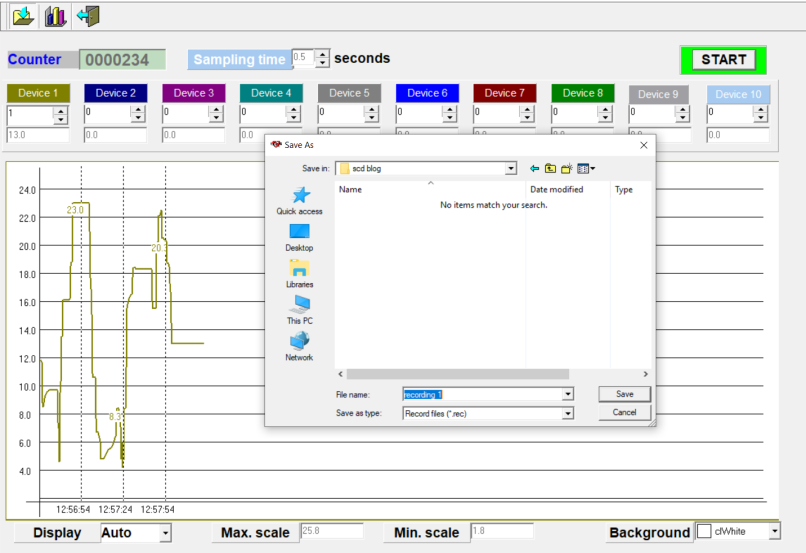
A new window will open, allowing you to choose where to save your data. Data will be saved as a .rec format file.
To learn more about the DIN Rail Temperature/Process Controller, Series SCD, or Mini-Node™ Communication Signal Converter, Model MN-1, please visit the Dwyer website.